## Quick Start Video
ing Sites - GenAI SEO Writer
Quick Start Video
What This App Does
The GenAI SEO Writer creates SEO-optimized articles and automatically publishes them to your WordPress-based websites. While auto-posting requires WordPress, you can use the article writing feature with any website type.
Adding Sites
Prerequisites
Important Setup Requirements
Before adding your site, ensure you have:
- Website URL (your domain)
- WordPress admin access
- Proper WordPress configuration
WordPress Configuration Checklist
Pre-Setup Tasks
Complete these steps in your WordPress dashboard before proceeding:
| Step | Task | Description |
|---|---|---|
| 1 | Login Page Access | Ensure login page is at [your-domain]/wp-login |
| 2 | Disable Conflicting Plugins | Turn off plugins that hide/scramble login pages |
| 3 | Enable App Passwords | Allow application password creation |
| 4 | Check Security Plugins | Disable Wordfence "Brute Force Protection" if blocking app passwords |
Step-by-Step Site Addition
Adding Your Website
Step 1: Enter Website URL
- Input your complete website URL including
https:// - Correct:
https://guidesify.com - Incorrect:
guidesify.com
Step 2: WordPress Authentication
- Click "Login with WordPress" button
- You'll be redirected to approve connection
- Authorize Application Password creation
- This enables automatic article posting
Step 3: Content Topics
- Enter 5 or more topics for article generation
- Ensure topics are appropriate and relevant
- Topics guide AI content creation
Non-WordPress Sites
If your website isn't WordPress-based, skip the authentication process and use the article writing feature only.
Optional: Telegram Integration
Exclusive Feature
WordPress users can automatically post new articles to Telegram channels. See our Telegram Integration Guide below.
Deleting Sites
Deletion Video Guide
Removal Process
Permanent Action
Site deletion is final and irrecoverable. You'll need to re-enter all information to add the site back.
Quick Removal Steps:
- Locate the site in your sites list
- Click the three dots (⋯) menu button
- Select "Remove" option
- Confirm deletion
Telegram Channel Integration
Feature Overview
Automatically notify your Telegram channel subscribers when new posts are published on your website.
Step 1: Adding Our Bot
Requirements
- Use Telegram Web (browser version) on your computer
- Have admin access to your Telegram channel
Bot Setup Process
| Step | Action | Visual Guide |
|---|---|---|
| 1 | Navigate to your channel & click Edit (pencil icon) | 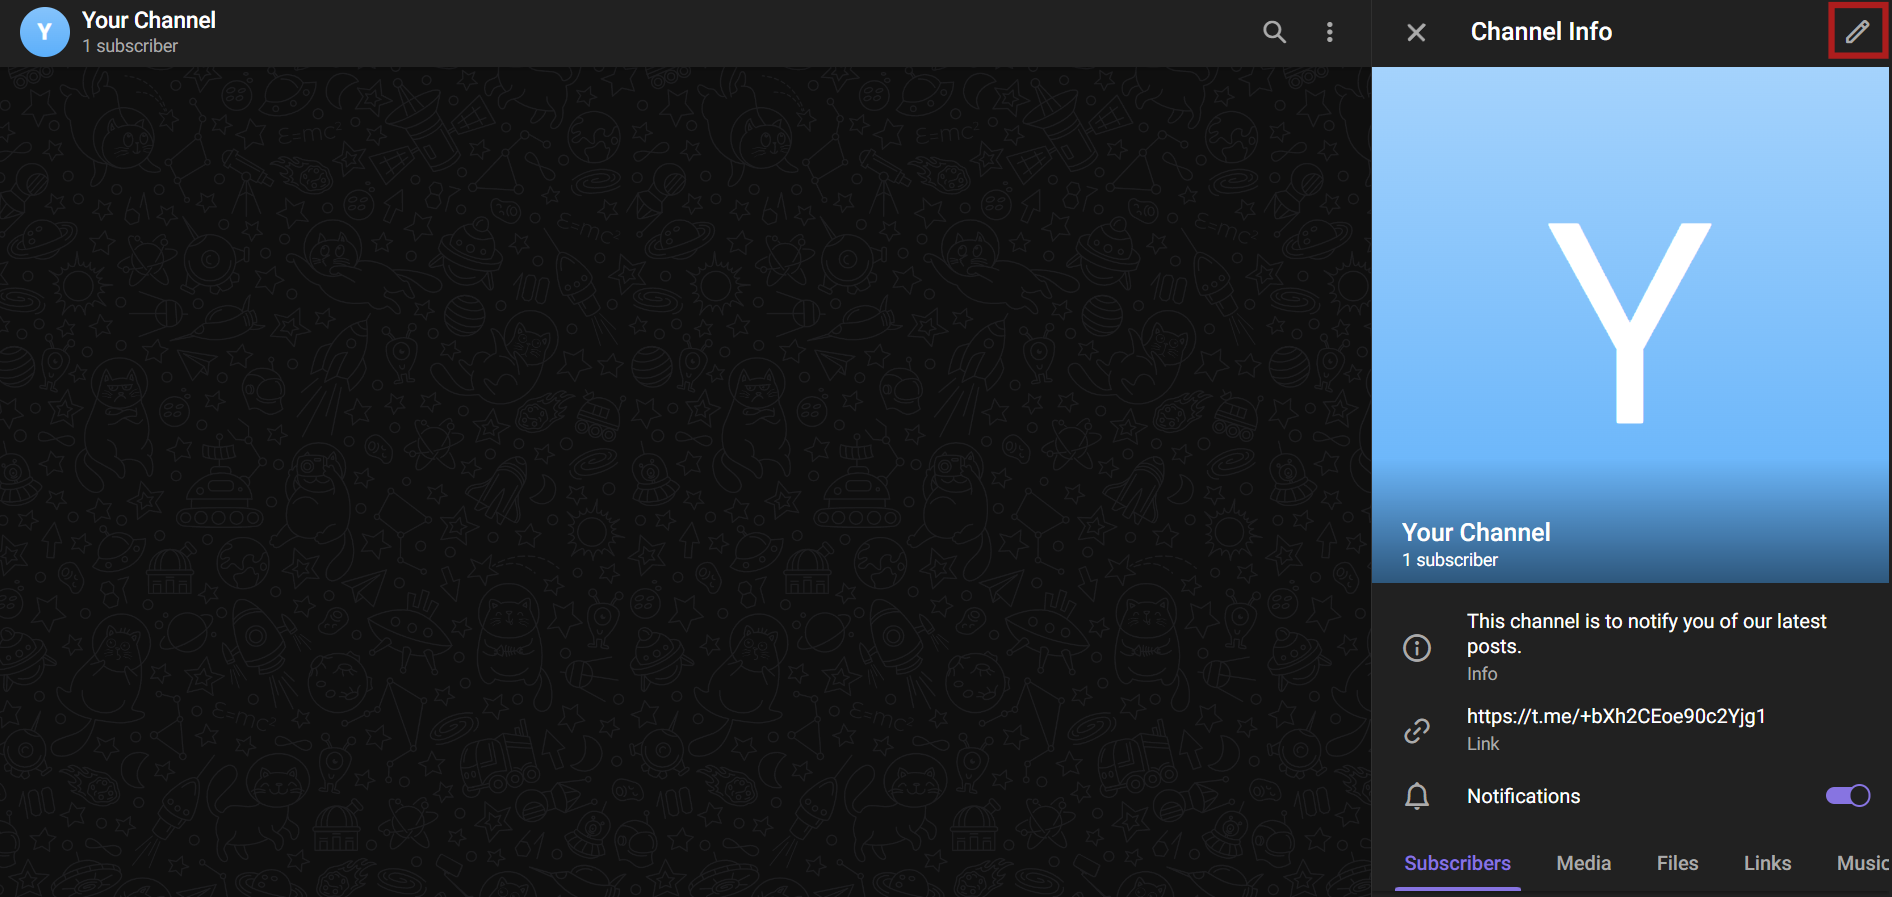 |
| 2 | Click "Administrators" | 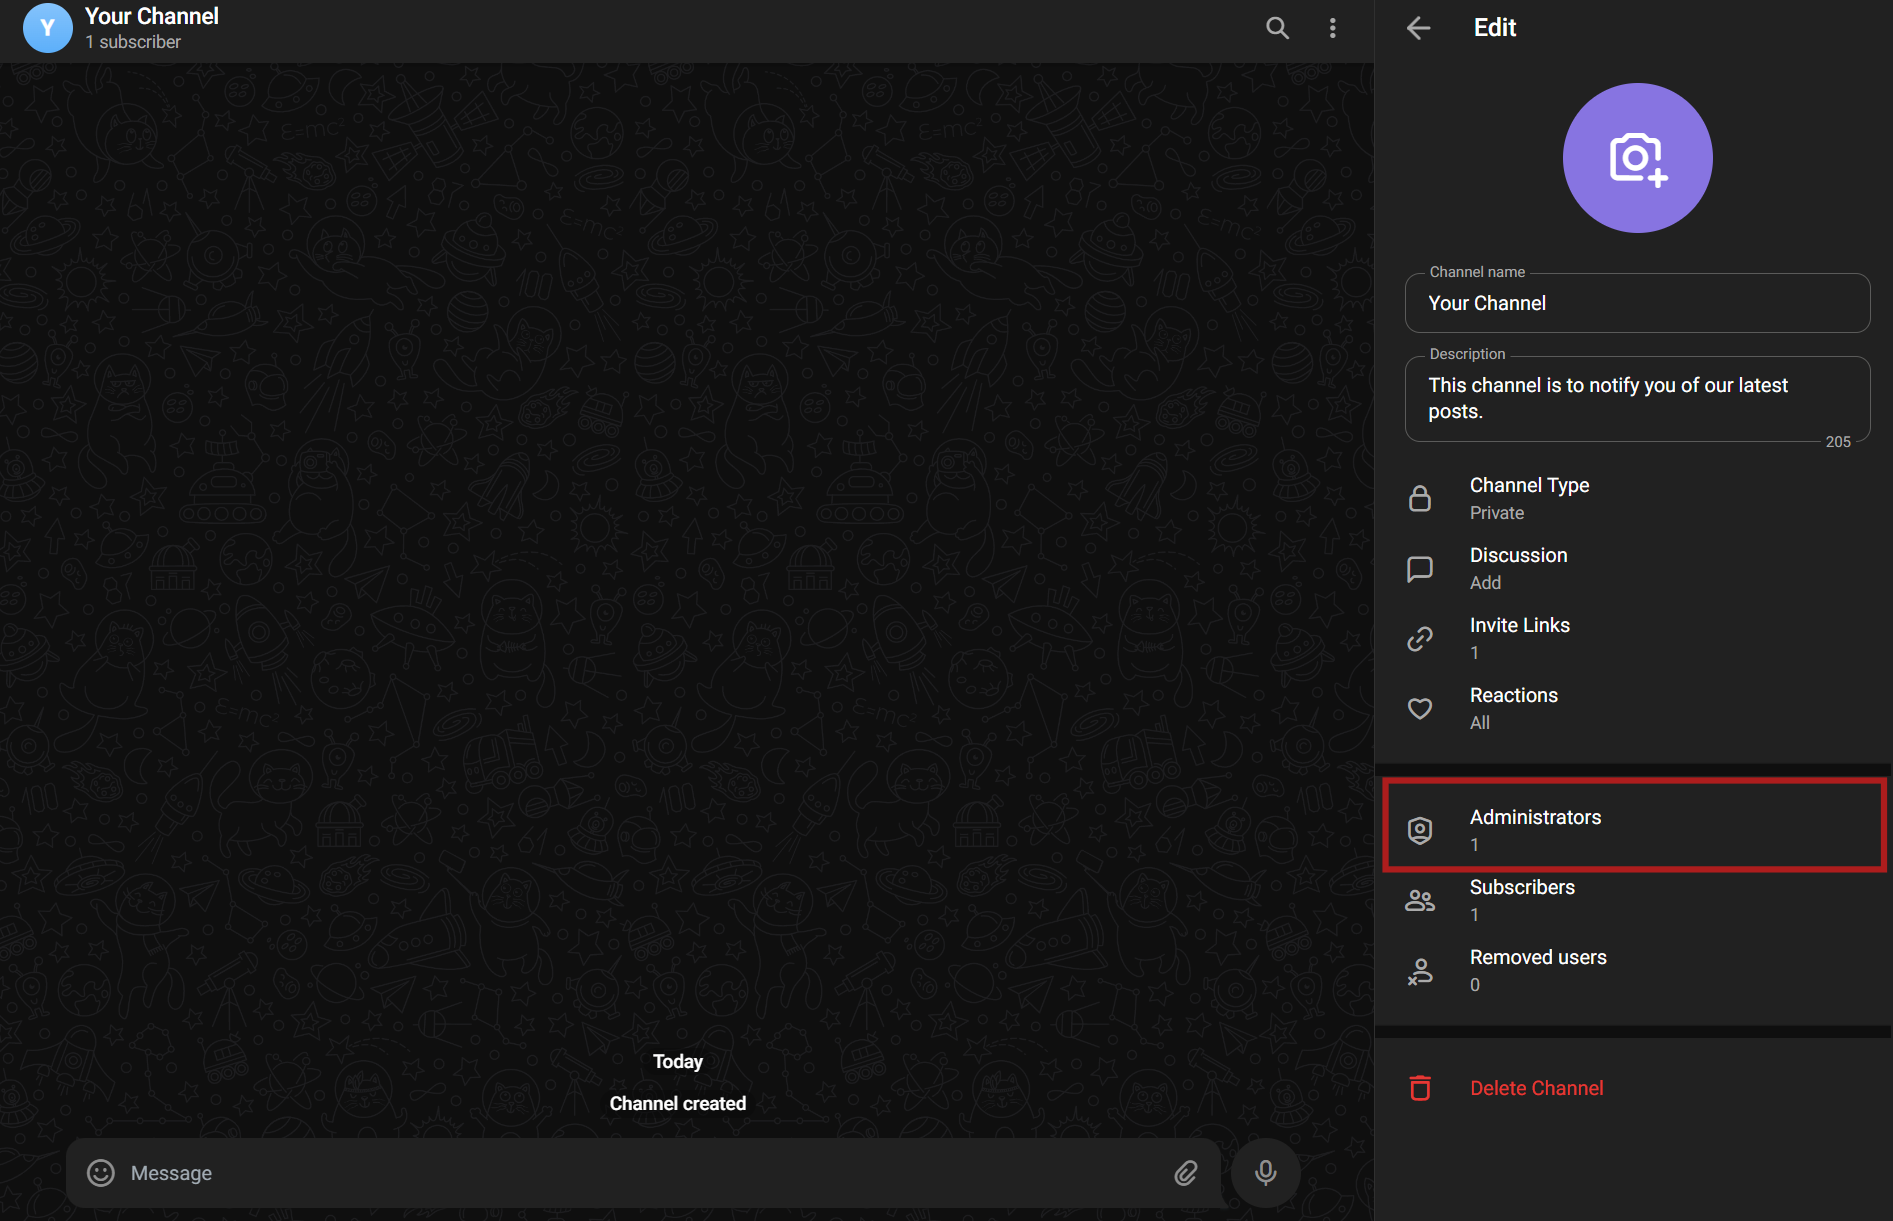 |
| 3 | Click "Add Administrator" (bottom-right icon) | 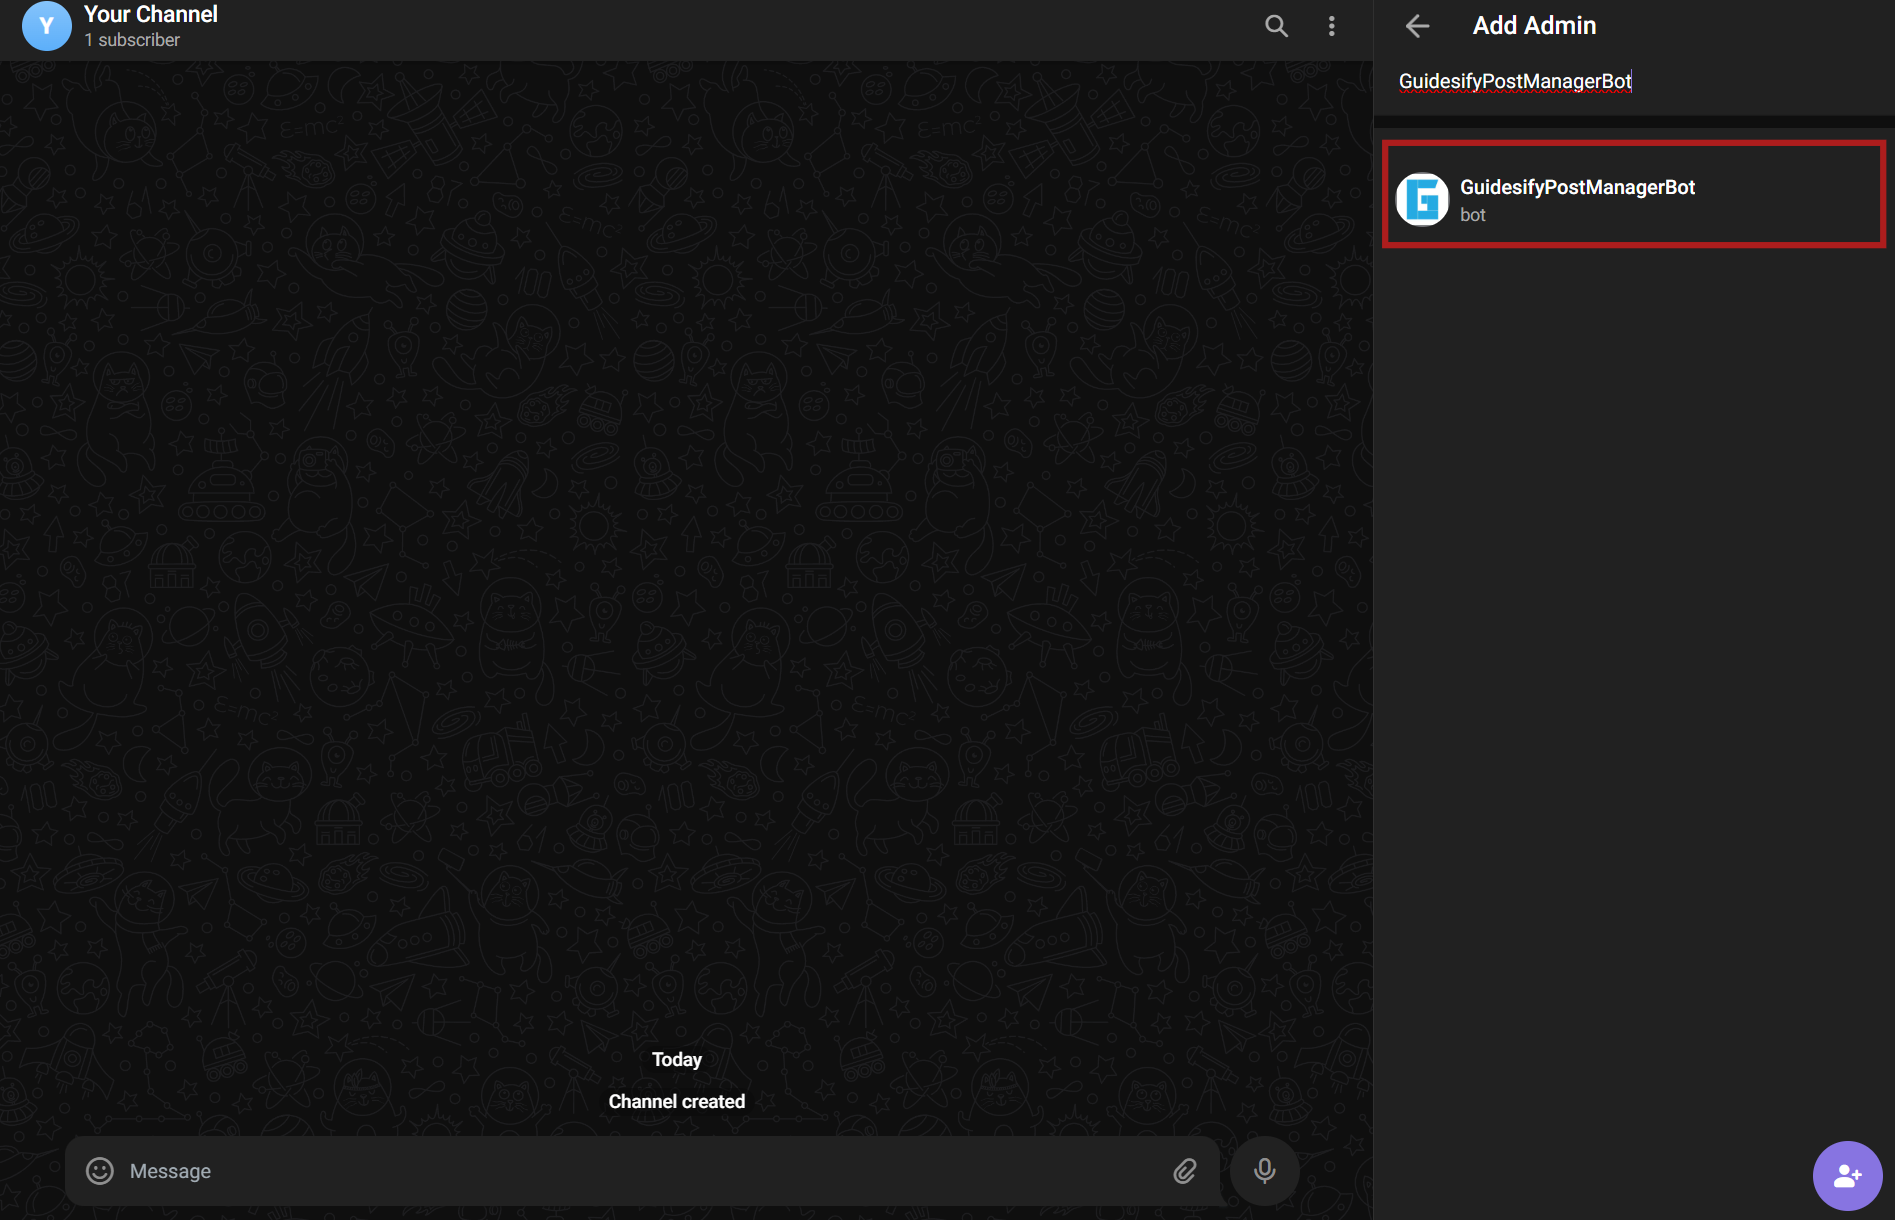 |
| 4 | Search for "GuidesifyPostManagerBot" or @guidesify_wp_bot |
|
| 5 | Leave all permissions checked | 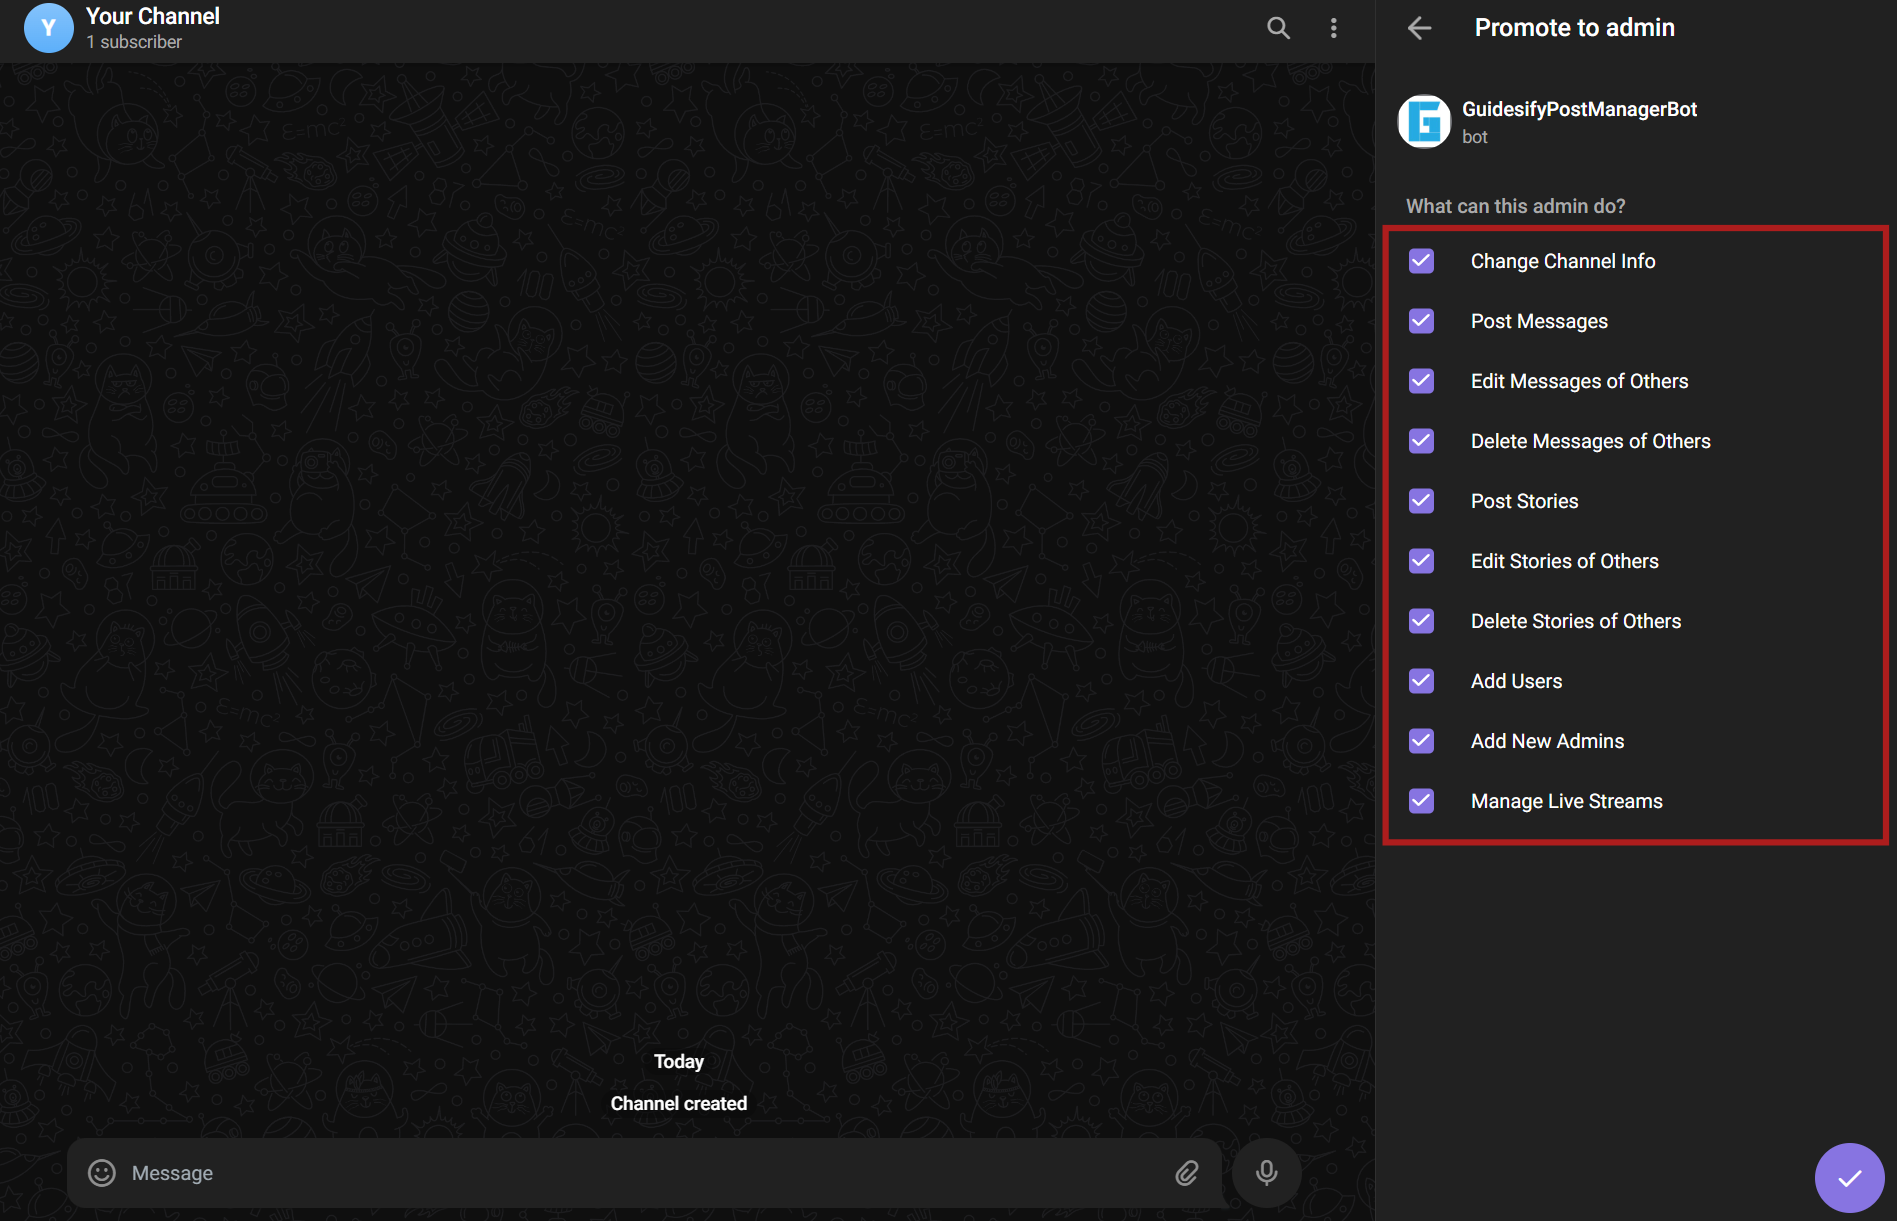 |
Step 2: Getting Your Channel ID
ID Retrieval Process
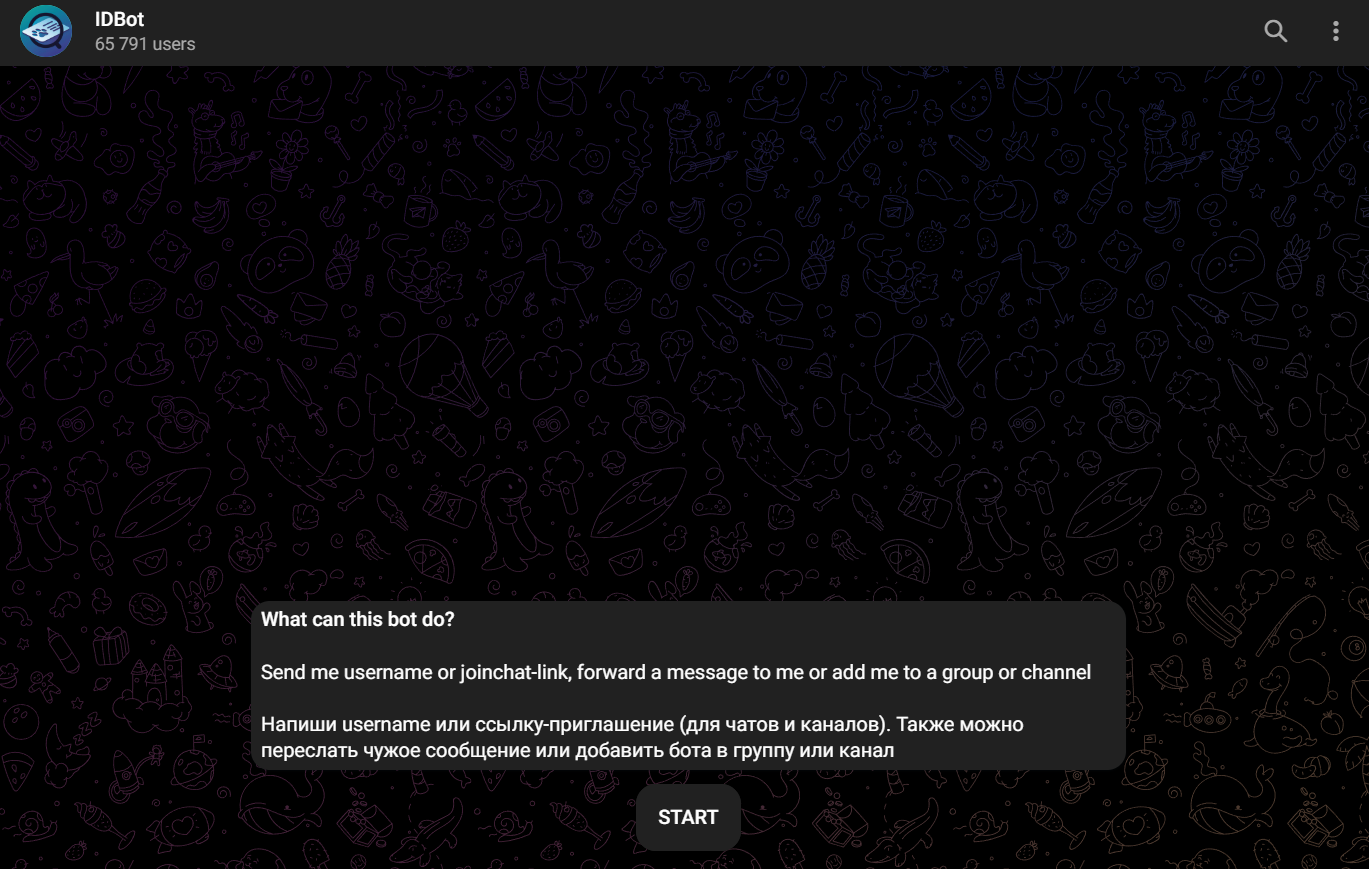
Initialize IDBot:
- Search for IDBot or click here
- Send
/startcommand to activate bot
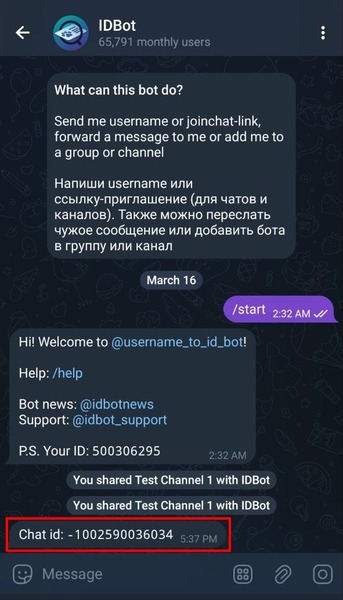
Get Channel ID (Mobile Required):
- Switch to Telegram mobile app
- Use "Channel" option in IDBot menu
- Search and select your target channel
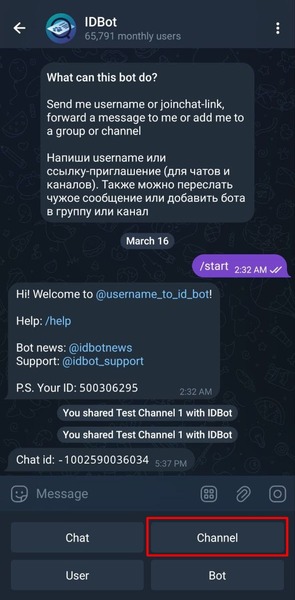
Copy Your ID:
- Bot displays your channel ID (format:
-1000123456789) - Copy the complete ID including the minus sign (-)
Step 3: Setting Channel Handle
Handle Purpose
Your channel handle is the display name our bot uses when posting notifications. This appears when messages are forwarded or shared.
Handle Guidelines:
- Use:
yourchannel - Don't use:
@yourchannel(@ is added automatically) - Example:
guidesifysingapore
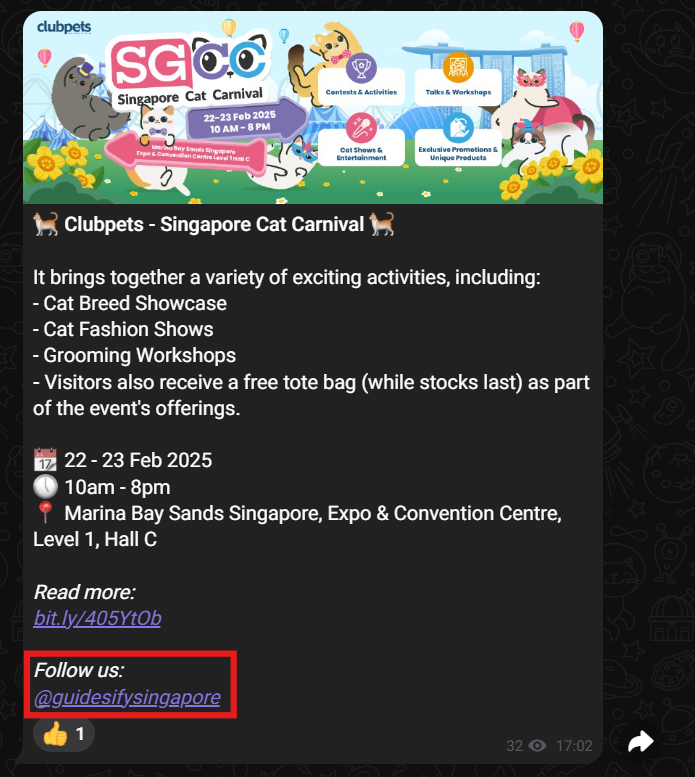
Live Example
See our Telegram integration in action: @guidesifysingapore
Ready to Manage Your Sites?
Start adding your WordPress sites and automate your content publishing workflow.
Manage Sites Now →